|
|
|

|
Planner Filter |
|
Overview You can use the Planner Filter to filter the tasks that are displayed in the Planner. For instance, when there are tasks of different types, you can filter them by creating individual filters, which can you define as desired. * This feature is available
only in Standard and Enterprise editions. |
|
To use this feature click on the Filter button located on the top right
corner on the toolbar of Planner panel, to invoke the window as in the
figure here.
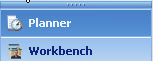
In case you are currently not within the Planner panel, you need to click
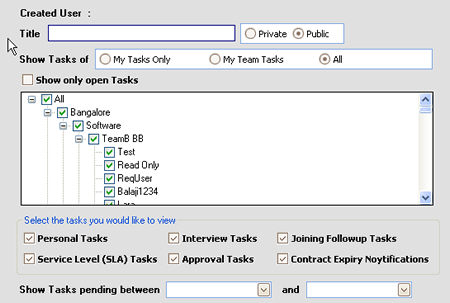
on the Planner panel on the left. See the figure below: Figure 1.7 Once you have opened the Planner Filter window you can then define your filter by giving the name of the filter in the Title field and define other parameters and press Save. See the figure below.
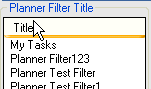
Figure 1.8 Editing Filters To edit any existing filters, use the steps that you followed for opening the Planner Filter, and click on the respective Filter Title saved on the Left and after re-defining on the right press Save on the toolbar
Loading Filters At any point of time to load the tasks defined in the filters, select your filter by navigating to the Filter drop-down before the Run button on the toolbar, and press the Run Button. See the figure below
|
|
|


Copyright © 2007, HireCraft Software Pvt. Ltd